Blue Tape Walkthrough: Complete New Construction Buyer Guide
In this article
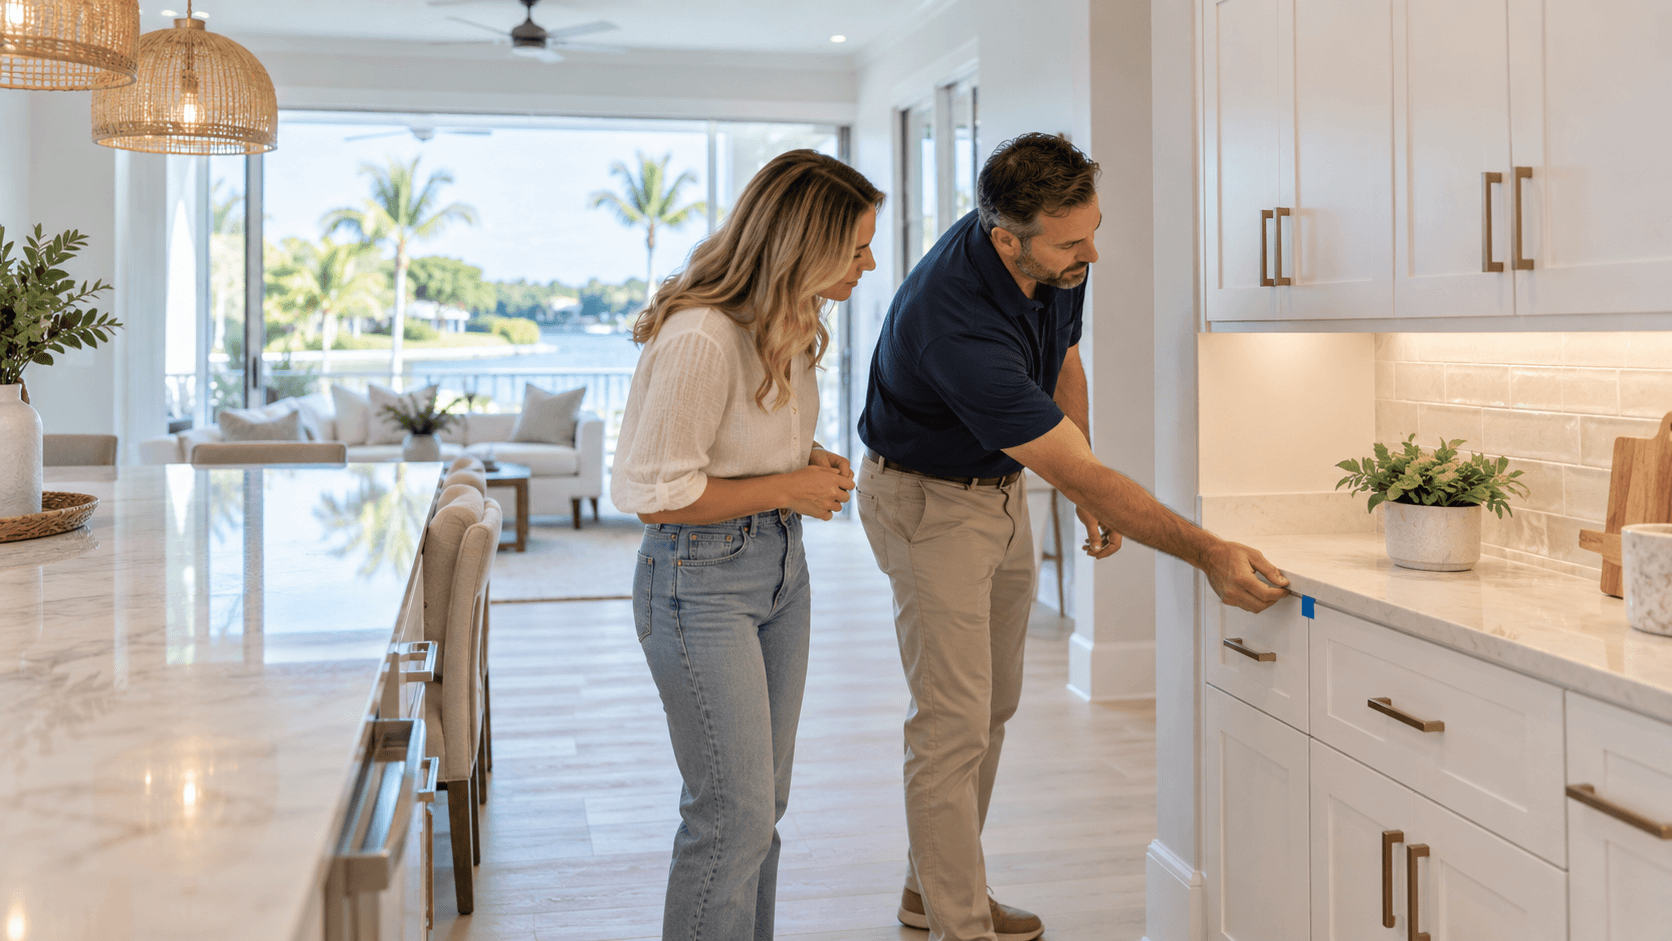
A blue tape walkthrough is a scheduled visit near the end of a new-home build. The buyer and builder walk through the home and mark visible items that may need attention. Blue painter's tape is often used because it is easy to see and remove. The builder may use a phone app, paper list, numbered stickers, or another system instead.
The goal is to make a clear record before closing. It is also a time to learn how the home works. It does not replace a private home inspection, a local code inspection, an appraisal, or the final walkthrough. Each event has a different job.

What happens during a blue tape walkthrough
The builder or customer-care person usually leads the visit. The group moves through the home in a set order. The builder may explain appliances, shutoffs, filters, electrical panels, smart-home controls, maintenance needs, and warranty steps. The buyer points out visible finish concerns or items that do not work as expected.
Common examples include a paint touch-up, a door that rubs, a cabinet that needs adjustment, a cracked tile, a loose handle, missing caulk, or a screen that is not in place. The buyer may also notice a plumbing fixture, light, fan, outlet, window, or appliance that does not work.
The builder records accepted items. Some builders place tape beside each spot. Others enter photos and notes in an app. Ask at the start which system creates the official list. A piece of tape by itself may not be enough if no one records it.
The definition of a blue tape walkthrough explains the term and the other names builders use for this visit.
Why the visit matters
A finished home has many parts. Small finish items are easier to see when the home is empty and clean. The walkthrough gives the buyer a set time to look closely and gives the builder a list that can be assigned to trades.
The visit also creates a shared record. Clear notes reduce confusion about the room, item, and requested next step. A useful entry says, “Primary bedroom, east wall, paint chip beside the window,” not only “paint issue.”
NAHB's overview of the home-building process places the punch list and orientation walkthrough near the end of the build. That matches the basic order most buyers see: finish work, builder checks, buyer visit, open-item work, and handoff. The exact order and rights still come from the contract and builder process.
What the visit does not prove
A blue tape walkthrough does not prove that every system was installed correctly. It focuses mainly on what can be seen and operated during the visit. It may not cover the roof, attic, electrical panel, drainage, structure, or other technical systems in the same way as a buyer-hired inspection.
HUD tells buyers that an appraisal does not replace a home inspection and that the buyer arranges the inspection. Read HUD's home inspection notice. The new construction home inspection guide explains the private inspector's role.
Local permit inspections are separate too. They relate to approved plans, permits, and code. Miami-Dade County explains that building, electrical, mechanical, plumbing, zoning, and other inspections may be required. A buyer's tape list is not the government's code record.
When it normally happens
Builders often schedule the visit after the home is close to complete. Utilities should be on. Major fixtures and appliances should be installed. Floors, cabinets, counters, paint, trim, doors, windows, and exterior work should be far enough along to review.
The date may be days or weeks before closing. There is no single rule for every builder. Ask when the official list is created, how long the builder expects the visit to take, and whether there will be a second visit.
Do not assume the blue tape appointment is your final chance to see the home. The sales contract and builder process control access. Ask about the final walkthrough, repair check, orientation, and closing schedule in writing.
How to prepare
Read the builder's message and contract before the visit. Confirm who may attend, how long the appointment lasts, and whether the builder allows photos, a private inspector, or an agent. Wear closed shoes and simple clothing. The site may still have active work.
Bring:
the option and upgrade list;
floor-plan and electrical-option pages;
a charged phone and charger;
a small flashlight;
a tape measure for a specific agreed feature;
a notepad or approved digital checklist; and
the earlier inspection report, if one exists.
Do not bring tools for unsafe tests. Do not remove covers, enter blocked areas, climb on the roof, or operate equipment against builder instructions. A walkthrough is not a do-it-yourself technical inspection.
Start with the builder's process
Ask four questions before marking anything:
What types of items should receive tape?
What creates the official written record?
Who decides whether an item is accepted?
How will completion be shown before closing?
These questions prevent a common problem: the buyer places many pieces of tape but receives no final copy of the list. Make sure each accepted item has a room, a short description, and a status.
If the builder will not accept tape, follow the stated process. The color of the marker does not matter. The record matters.
Walk in one direction
Use a simple route so no space is missed. Start outside. Move through the garage, first floor, stairs, second floor, attic access area, and patio or yard as allowed. In each room, scan from ceiling to floor and then test normal controls.
The room-by-room blue tape walkthrough checklist gives the detailed order for kitchens, baths, bedrooms, windows, doors, floors, walls, and exterior areas. Use that page during the visit. Keep this guide for the larger process.
Work at a steady pace. Do not spend the first hour on one paint wall and rush the rest of the home. Record the obvious item, take the allowed photo, and continue.

How to write a useful item
Each entry should answer four questions:
Where is it?
What can you see or test?
What result did you get?
What follow-up are you asking for?
For example: “Kitchen island, cabinet door nearest refrigerator, door hits the next door when opened. Please adjust and confirm.” That is easier to manage than “cabinet bad.”
Use neutral words. Describe what you see. Do not label an item a code violation, hidden defect, or warranty failure unless the right expert has made that finding. A photo can show the spot, but the written note should still make sense without the photo.
Tape, photos, and item numbers
Place tape next to the item, not over a switch, sensor, seal, finished surface that could be harmed, or a moving part. Follow the builder's rule for tape size and color. One small piece is often enough.
Take one wide photo for the room and one close photo for the item when photos are allowed. Include an item number in your notes. Do not rely on hundreds of unlabeled pictures. They are hard to match later.
At the end of each room, count the tape marks and compare the count with the written list. This simple step catches missed entries.
What belongs on the list
The official list may include incomplete work, visible damage, finish corrections, missing parts, and normal-use items that do not work. The builder may separate cosmetic work from functional or trade work.
If you see a possible leak, electrical concern, unsafe guard, broken window, missing appliance, or nonworking system, state it at once. Do not wait for the end of the visit. Ask how urgent items will be handled and recorded.
The new construction punch-list guide explains how to group, rank, and track the official list after the tour.
What may need a private inspector
Some concerns are beyond a normal buyer walkthrough. A licensed home inspector can review the home under a written inspection agreement. Florida's rules include standards for structure, electrical, HVAC, roof covering, plumbing, interior, exterior, and site conditions. You can review Florida's home-inspector rules and use the Florida license-verification page.
Try to schedule the private inspection early enough for the report to be read and submitted under the contract. The final new construction inspection guide explains that process.
Before you leave
Ask for the current list or a delivery date. Confirm the contact person and the channel for new questions. Ask whether trade work, cleaning, or final approvals are still open. Record any item the builder did not accept and the reason given.
Take a final set of room photos if allowed. They can help you remember the home's condition, but they do not change the contract or create a builder duty by themselves.
Do not sign a completion statement you do not understand. Read what the form says. A signature may only confirm attendance, or it may say more. Ask questions and get legal advice when the meaning or effect matters.
What happens after the visit
The builder sends items to staff or trades. Work may happen in a different order from your list. Paint, drywall, cabinets, plumbing, electrical, cleaning, and landscaping may have separate teams.
Keep one master copy. Add a status column such as open, scheduled, reported complete, verified, or still disputed. Do not delete an item when someone says it is done. Change the status and keep the history.
Ask how you will verify the work. A photo may be enough for a simple paint item. A door, fixture, appliance, leak, or system may need to be checked in person. A technical repair may need a private inspector or licensed trade.
Blue tape visit versus final walkthrough
The blue tape visit finds and records open items. The final walkthrough checks the home's last visible condition before closing and confirms agreed work as allowed. The two visits can be on different days.
The Consumer Financial Protection Bureau tells buyers to use the final walkthrough to confirm agreed repairs and included property before signing. The new construction final walkthrough checklist keeps that last visit focused on verification, not a new all-day punch-list search.

A simple action plan
Confirm the appointment and access rules.
Read the option list and earlier reports.
Ask how the official record is made.
Follow one route through the home.
Describe each item by room and exact spot.
Match tape, photos, and list numbers.
Get a copy of the list.
Track work without deleting history.
Verify key items before closing.
Save the final list with warranty records.
Common Questions
Why is it called a blue tape walkthrough?
Builders and buyers often use blue painter's tape to mark visible items without making a permanent mark. A builder may use another color, stickers, an app, or no tape at all.
Is a blue tape walkthrough the same as a home inspection?
No. The walkthrough is usually a builder-led finish and orientation visit. A buyer-hired inspector performs a separate review under an inspection agreement.
Can I bring my real estate agent?
Many buyers attend with their agent, but builder access rules differ. Confirm who may attend before the appointment.
Should every small paint mark go on the list?
Follow the builder's stated standard and time limit. Record clear visible items, but keep enough time to check every room and normal-use feature.
What if the builder says an item is normal?
Ask for the answer in writing and the standard being used. Keep the item and response in your file. Get expert or legal advice if the issue is important.
Does the builder have to finish every item before closing?
The answer depends on the contract, written agreements, builder process, item, and applicable law. Do not assume the closing date or duty changes without written confirmation.
Plan your walkthrough with a clear record
National House Search helps Florida new-construction buyers prepare for builder visits, inspections, repair tracking, and closing. Call 561-704-0091 or schedule a buyer consultation to plan your blue tape walkthrough with a simple checklist and follow-up system.