Blue Tape Walkthrough Checklist: What to Inspect Room by Room
In this article
Use a blue tape walkthrough checklist in the same order every time: outside, garage, main living areas, kitchen, bathrooms, bedrooms, stairs, utility spaces, and final records. In each area, look high to low. Then test normal controls. Record the room, exact spot, visible concern, and requested follow-up.
This checklist is for a builder walkthrough. It does not replace a licensed home inspection. Do not open electrical panels, climb roofs, enter unsafe areas, or take apart equipment. Ask the builder before using tape or taking photos.

Before the appointment
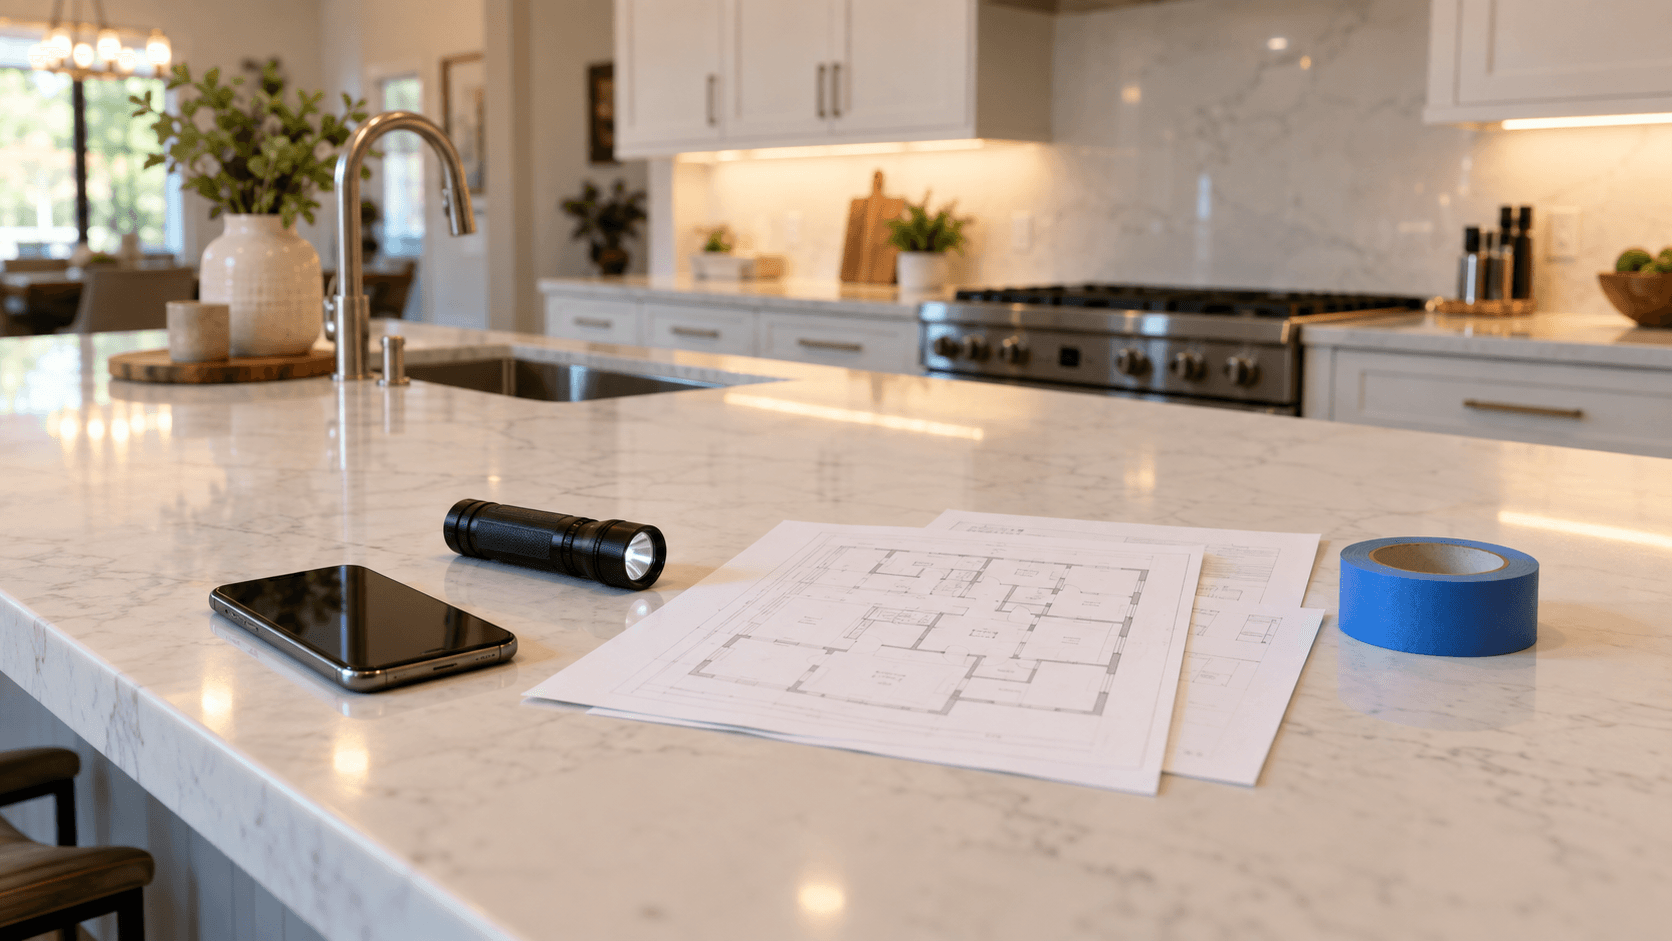
Bring the option list, floor plan, upgrade selections, earlier inspection report, phone, flashlight, and note system. Confirm the appointment length and who may attend. Ask whether the builder uses blue tape, numbered stickers, an app, or a paper form.
Read the complete blue tape walkthrough guide before using this field checklist. It explains the process, record rules, and follow-up steps.
Create a simple entry format:
Item number — room — exact spot — what you saw or tested — requested next step.
Use the same format for every item. It will make the final list much easier to review.
Exterior and site
Walk around the home only where the builder allows. Look at the front, sides, rear, driveway, walkways, patio, entry, and visible yard.
Check:
visible wall finish, trim, and paint;
doors, frames, locks, and weather seals;
windows and screens from safe ground level;
exterior lights and doorbell;
hose bibs and visible plumbing parts;
garage door surface and bottom seal;
driveway, walkway, porch, and patio surfaces;
visible grading and water paths;
fences, gates, landscaping, and irrigation parts included in the sale; and
missing covers, caps, caulk, or touch-up work.
Do not call a slope or drainage path defective from appearance alone. Record what you see, such as ponding water, soil touching siding, a blocked drain, or an unfinished swale. The common new construction defects guide explains why an expert may need to review water or system concerns.
Entry and foyer
Open and close the front door. Test the lock, latch, deadbolt, handle, and doorbell. Look at the threshold, weather strip, frame, paint, glass, and nearby flooring.
Stand inside with the door closed. Look for a large, even gap rather than a narrow spot that shows rubbing. Check that the door does not move on its own when left partly open, unless air or slope explains it. Record the condition without forcing the door.
Check switches, lights, outlets, trim, wall finish, ceiling finish, and the transition into the next room.
Living room and great room
Scan the ceiling for patches, stains, cracks, missing paint, or fixtures that are not straight. Scan walls in natural light and with room lights on. Look at corners, baseboards, window trim, and floor edges.
Operate windows, locks, blinds, and doors if they are included and safe to use. Test switches, fans, lights, and accessible outlets with a simple approved device only if the builder allows it. Do not insert objects into outlets.
Walk the floor normally. Note loose flooring, sharp transitions, chips, cracked tile, raised edges, or carpet seams that appear unfinished. Furniture will soon cover many of these areas, so use the empty-room view well.
Kitchen
The kitchen has many moving parts. Give it enough time.
Check cabinets and drawers one at a time. Open them fully. Look for doors that hit each other, loose pulls, damaged faces, missing shelves, rough edges, and drawers that do not close. Check that installed soft-close parts work where included.
Look at counters, seams, backsplashes, sink edges, caulk, and visible wall finish. Run the faucet. Switch hot and cold. Watch the drain and the cabinet below for visible water. Test the disposal only after the builder explains it and confirms it is ready.
Operate installed appliances through simple normal controls. Confirm that model types and finishes match the written selection. Look for dents, scratches, loose trim, missing racks, and doors that hit cabinets. Do not run long cycles during a short visit unless arranged.
Check outlets, switches, lights, range hood, microwave light and fan, pantry shelves, island panels, toe kicks, and floor edges. Write each item separately so the right trade can own it.

Bathrooms
Run each faucet and shower long enough to observe normal flow and drainage. Flush the toilet. Watch for movement at the base, leaks, slow drains, loose handles, missing caulk, or water reaching an area it should not reach.
Check:
sink and counter surfaces;
cabinet doors and drawers;
mirrors, lights, fans, and outlets;
shower door movement and seals;
tub and shower finish;
tile, grout, and caulk;
toilet seat and paper holder;
towel bars and accessories included in the sale;
doors, locks, and stops; and
floor and wall edges.
Do not flood a shower pan or block a drain unless a qualified inspector and builder have approved the test. Record visible results from normal use.
Bedrooms
Open each room door, closet door, and window. Test locks and latches. Look at walls in daylight and with lights on. Check flooring, baseboards, trim, ceiling, outlets, switches, and vents.
In closets, look at shelves, rods, brackets, lights, access panels, and door movement. Confirm that the room has the agreed options and finishes. Use the written selection sheet instead of memory.
If a door rubs or will not latch, record the exact door and result. Do not say every door is “misaligned.” Clear wording helps the builder send the right person.
Laundry room
Check the washer box, drain opening, water valves, dryer vent connection, outlet type, light, fan if present, shelving, cabinet work, walls, floor, and door swing.
Do not connect or run personal appliances during the builder visit unless arranged. Note missing caps, loose trim, visible damage, or an opening that does not match the selection.
Ask where the dryer vent exits and what maintenance it needs. Record the answer with homeowner notes, not as a repair item unless a visible problem exists.
Garage
Operate the overhead door with the builder present. Ask the builder to show the wall control, remotes, manual release, and safety features. Do not place yourself under a moving door.
Look at the door panels, tracks, seals, frame, floor, walls, ceiling, lights, outlets, hose bib, service door, and included storage. Note visible cracks without guessing the cause. Photograph the full area and the close spot.
Ask the builder to identify the electrical panel, water shutoff, irrigation control, air handler, water heater, and other equipment in or near the garage. A licensed inspector should handle technical system review.
Stairs, rails, and upper halls
Walk the stairs normally. Hold the rail. Note loose parts, sharp edges, damaged treads, uneven finish, squeaks, or a door that conflicts with the landing.
Look at handrails, guards, trim, wall finish, lights, switches, smoke alarms, floor transitions, and attic-access trim. Do not open an attic access or climb into it unless the builder permits it and the person doing so is qualified.
Doors and windows throughout the home
Create a count and test one room at a time. Open, close, lock, and unlock each unit that is safe and meant to operate. Check screens and included blinds. Look for cracked glass, scratches, seal damage, loose hardware, or frames that are not finished.
Do not force a stuck window or door. Record the result and stop. Use a room name and wall direction, such as “Bedroom 3, rear window.”
Walls, ceilings, trim, and paint
View walls from a normal standing position and in ordinary light. Builders may have written cosmetic standards that define the viewing distance, light, and size of an accepted item. Ask for the standard instead of creating one.
Mark clear chips, stains, missed areas, dents, nail pops, rough patches, open trim joints, missing caulk, and damage. Avoid covering the wall with tape for small changes in texture that are visible only at a sharp angle with a flashlight.
The goal is a fair and usable record, not the largest count.
Floors and transitions
Walk every room. Look for cracked or chipped tile, damaged plank edges, loose carpet, exposed tack strips, uneven transitions, missing grout, and open gaps at trim.
Use normal steps. Do not jump, pry, lift flooring, or run moisture tests on your own. If a floor feels unusual, record the exact spot and ask what review is appropriate.
Normal-use system checks
Ask the builder to show the thermostat, main water shutoff, electrical panel location, filter location, irrigation control, and smart-home controls. Test simple user controls only.
Confirm that lights, fans, faucets, toilets, appliances, garage controls, and thermostats respond. A short walkthrough cannot fully test every system. The new construction home inspection checklist is broader and is designed to support a professional inspection discussion.
Florida home inspectors work under state rules that list systems and scope. Review Florida's standards if you want to understand what a licensed inspector may cover.
Options, upgrades, and included items
Use the signed selections. Check model, color, finish, location, and quantity for major options. Examples include cabinets, counters, flooring, appliances, fixtures, lighting, electrical outlets, doors, hardware, plumbing choices, and smart-home items.
Do not depend on a model-home memory or sales image. The contract, addenda, and selection sheets control what was purchased. Record a mismatch with the exact document name or selection number.
Cleanliness and construction debris
Look inside cabinets, closets, showers, tubs, window tracks, garage edges, patio areas, and yard corners. Note construction debris, labels, protective film, paint drops, dust, or trade materials left behind.
Cleaning items can hide damage or block a proper check. Ask whether the home will receive another cleaning before the final walkthrough.
Build the official list
At the end of each room, compare the number of tape marks, photos, and written items. At the end of the visit, compare your list with the builder's list.
Group items by room and trade, but keep one number per issue. The new construction punch-list guide shows how to rank safety, water, system, incomplete, damage, and cosmetic items.
Keep rejected or deferred items in your own notes with the builder's response. Do not change the builder's answer.

Final check before closing
Use the builder's completion update and your numbered list. Verify agreed items that can be checked safely. Look for new damage or unfinished work caused by later trades.
The final walkthrough checklist for a new construction home is a shorter verification list for that last visit. It should not become a rushed repeat of the full blue tape appointment.
Common Questions
How long should a blue tape walkthrough take?
The time depends on home size, builder process, and item count. Ask the builder how much time is scheduled and plan a steady room-by-room route.
Should I test every outlet?
A buyer may perform simple allowed checks, but a licensed inspector has the tools and scope for electrical review. Follow builder rules and never use unsafe methods.
Can I put tape on every paint spot?
Follow the builder's cosmetic standard and tape rules. Record clear visible concerns while leaving enough time for functional items and every room.
What should I check first?
Start with safety, active water, missing or broken parts, nonworking systems, and incomplete work. Then cover damage and cosmetic finish items.
What if the home is not ready?
Record the unfinished areas and ask for the next access date. A limited visit may not allow a complete checklist, so confirm what will be reviewed later.
Do I need both a checklist and photos?
Use both when allowed. The list explains the item, and photos show the spot. Number them so each photo matches one written entry.
Take a complete list into your walkthrough
National House Search helps Florida new-construction buyers prepare for builder visits, private inspections, and closing. Call 561-704-0091 or schedule a buyer consultation to organize your blue tape walkthrough checklist before the appointment.